< Previous | Contents | Next >
![]()
Sending your output to the world (or the office) can be nearly as easy as connecting TriCaster to the Internet (or intranet), and pressing the Stream button (located right below the Program output monitor).
Note: A few frames may be dropped on video output the first time you enable streaming for a session as the encoder launches. (If you test your stream first, you’ll avoid this.)
![]()
4.13.1 STREAMING CONFIGURATION
![]()
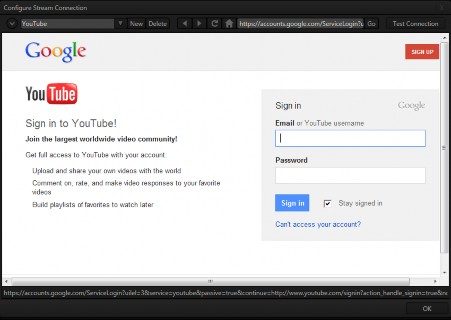
Click the Configure button (gear) situated next to the Stream (on/off) button to open the Configure Stream Connection panel, which lets you view and modify settings related to streaming your production across a network connection (Figure 87).
![]()
![]()
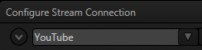
FIGURE 88
“Pull” streaming, though limited, is arguably the simplest way to get your production online:
1. Select “Create Connection from current URL” from the drop-down Connection menu at upper left (for Pull connections, the ‘current URL’ is actually irrelevant, so we didn’t need to navigate to a specific place on the web first).
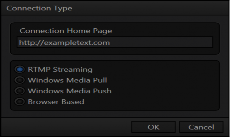
The Choose Connection Type dialog switches allow you to select between Browser Based, RTMP, Windows Media Pull and Windows Media Push streaming protocols.
FIGURE 89 |
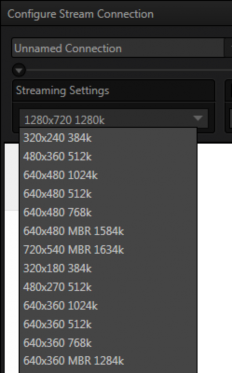
2. Select Windows Media Pull, click OK, and then supply a name for this Connection preset. 3. The next thing to do is to choose a streaming profile that provides a suitable resolution and bitrate from the Resolution menu (Figure 90). 4. Click the Test button. |
In a few moments, TriCaster displays the IP (Internet Protocol) address of your computer as viewed from the network. This information is provided as a ‘punctuated’ numeric value in the Location display field.
Hint: If your TriCaster is connected to the network by a router or is behind a firewall, it may be necessary to take further steps to provide external access. See Chapter 18, Streaming for a more elaborate explanation.
5. Close the Configure Stream Connection panel now, and click the Stream
button.
You’re streaming! You can provide clients (or streaming providers supporting Pull streaming) the Location address. Entering this into the File menu of Windows Media Player® (using the Open URL window) will direct WMP to show the stream from your system on client computer system(s) connected to the Internet (or intranet).
![]()
4.13.3 PUSH AND RTMP STREAMING
![]()
Browser Based, Windows Media Push and RTMP streaming are slightly more complex, largely because they depend on external resources to distribute your stream to a wider viewing audience. These may be provided in house by your organization, or you may take advantage of a commercial (or advertising sponsored) Content Delivery Network (CDN).
Arrangements and requirements of various external streaming hosts are diverse, but TriCaster’s Streaming Configuration panel adapts to provide the necessary input and information fields for the various types. More detail on these matters, including connecting to a network and numerous useful tips on streaming strategies is found in Chapter 18, Streaming.
![]()
![]()
Whenever you are streaming your output, TriCaster archives the live stream as a file. Files are saved to D:\Media\Clips\sessionname\SavedStreams.This is a very useful feature. Among other things, it allows you to post the captured file to a website immediately after an event for ‘video on demand’ streaming purposes – for late arrivals or others who want to review the live event.
Note: Remember to turn off the Stream when your production concludes, or TriCaster will continue writing the stream capture file.
![]()
